What is pickleball
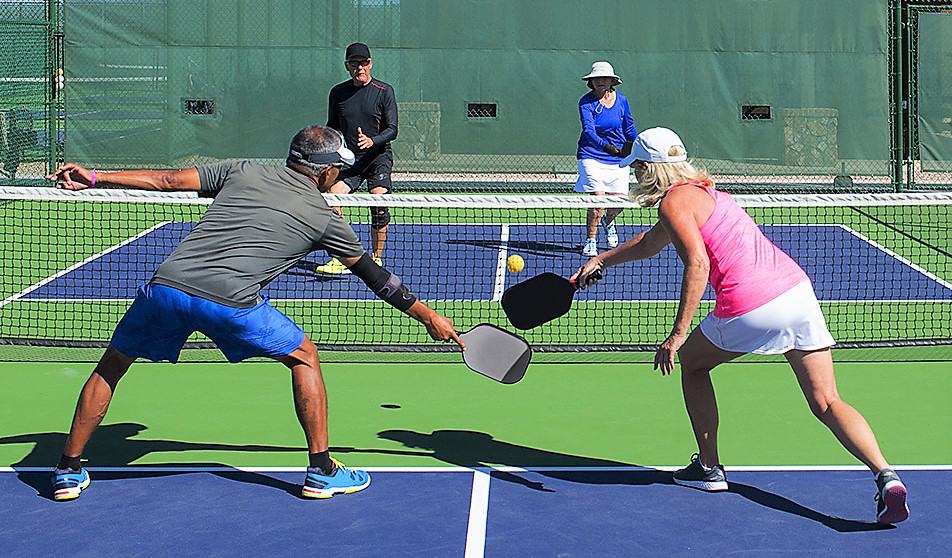
It is relatively a new sport, which has picked up where tennis and older racket sports have left off. It has the basic concepts of badminton, tennis and table tennis. The rules of the equipment, however, are different. While the majority of the mechanics of the other games remained intact, there have been some innovations in this game. Namely, the instrument used to play this game is the pickleball paddles. The court, where the game is played is also much smaller in size as compared to tennis or a badminton court. The pickleball nets are also around 2 inches shorter than the nets which are used in a tennis court.
The pickleball paddle grip
When you are an avid player of this game, there will be times when you would be required the change the grip of the paddle. It is quite regular and routine activity to change the grip of your pickleball. In order to use the paddle in the best way possible, it is crucial to ensure that its grip is clean and of high quality. This way, you would have to worry less about the grip of your paddle and then you can concentrate on your skills and your performance in the court. Replacing or over-gripping the grip of your pickleball paddle is not a complicated process, but like everything else, it takes time to get used to it. Most of the times, people wonder, how to correctly regrip a pickleball paddle and many others wonder how tennis grip can be used as a replacement for the pickleball grip. Other common questions which people ask regarding the replacement of the pickleball paddle grip is that whether there is any particular technique that is required to replace the grip on the paddle. For your convenience, we have explained the entire process of how to correctly replace the pickleball paddle grip so that you will have one less thing to worry about in the court.
When should the grip be changed?
The grip of your pickleball Paddle should be replaced if any of the following occur:
- The grip has started to feel a bit silky, rather than tacky
- You notice that the grip is twisting in your hand after driving or after you have smashed the ball. It can, however, be a sign that you are using a much smaller grip
- In case you let go of the paddle accidentally, it flies across the court like a boomerang
- You merely want to change it because you think it is fun
Most people want to change their paddles if it has lost its tackiness. The lifespan of the tacky grip is quite low. Most of the times, the grip loses its tackiness after about 100-150 hours of the play time, which is a rough estimate and depends from person to person. What this means is that if you prefer to have that tacky feeling in your hands at all times, then you should be changing your grip more often.
You do not need to change your grip entirely if it is only the tackiness that you want. Another option that you can consider is over gripping your paddle handle, to get the tackiness back. This option can also be found if you are interested in making the grip thicker. This means you do not need to replace the grip entirely.
Difference between replacement grip and overgrip
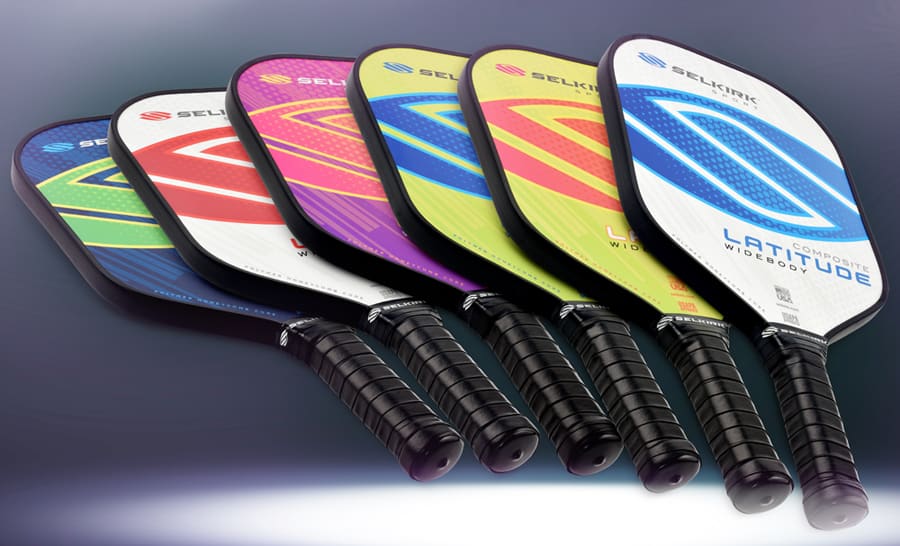
The difference between the replacement grip and the over-grip can be ‘felt’ in the paddle. Many of the replacement grips are quite simple and straightforward, and such models are also quite affordable. They do not offer any additional benefits. Many other replacement grips do however have a ‘contour’ feel that can boost the experience of the overall gripping power and it also helps to maximize the absorbency. There are a few models available which help to improve the total ball control and provides higher traction.
The overgrips are slightly different, and they are supposed to go over the standard grip and provide extra attributes as well. Most overgrips offer extra comfort and cushioning and better grip tackiness.
Check This Awesome Video Demonstration of Changing Grip
Step by step instructions for changing a pickleball paddle grip
Before you begin, it is best that you purchase two regrips rather than one, in case something goes wrong. It is perfectly fine to mess it up and the majority of the times, you can easily take it off and try again, but it is always advisable to have another one handy.
Step 1: Set up your workspace
It is always good to have everything organized before you begin the process of replacing the pickleball paddle grip. You will need the following items:
- Sharp scissors, even kitchen shears work well.
- The grip itself and
- A lot of patience!
It may be quite frustrating changing the grip when it is your very first time, but as long as you stick with these steps mentioned below, you will quickly get through it.
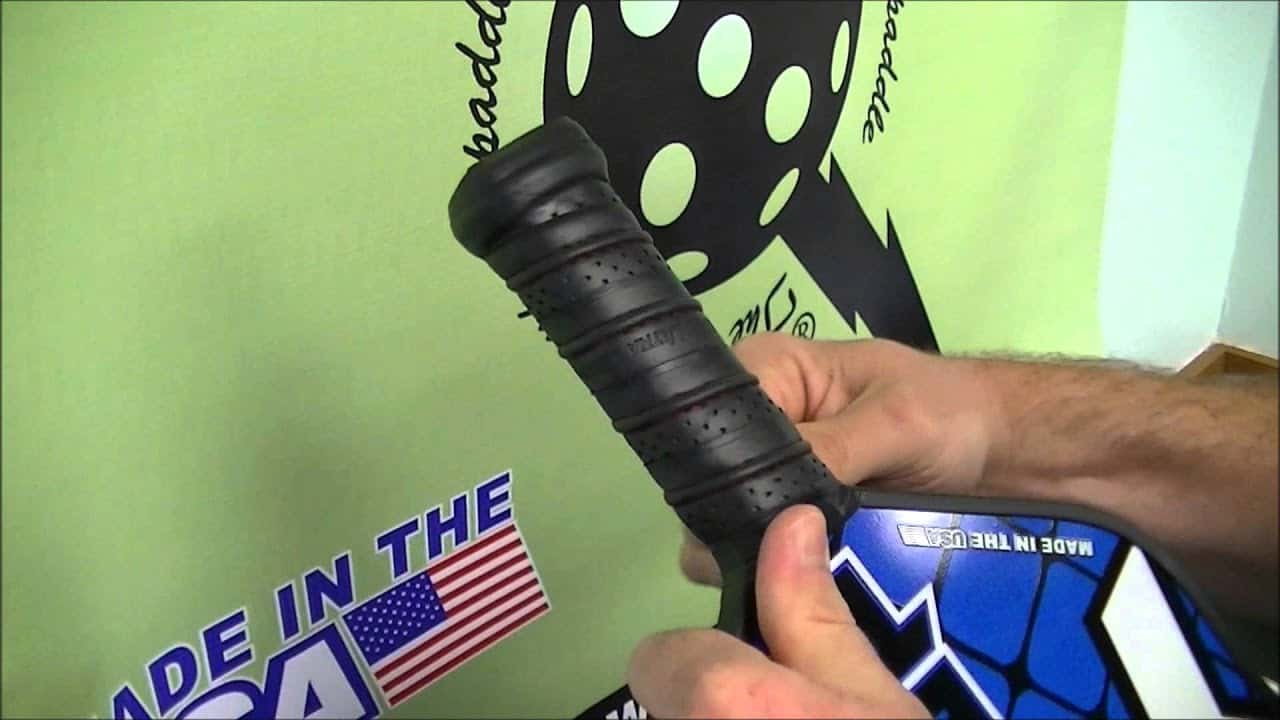
Whichever brand you will be using, it will most probably come with at least half an inch of electrical tape band with its brand name on it. The most popular one is Gamma’. All you need to do is just remove the group, stick it on the side of your table. The purpose of this tape is to hold the top of the grip firmly in its place. You will need the tape later. Then you unravel the clamp and move to the next step.
Step 2: Remove the old grip
Here, you remove the previous grip from the pickleball paddle. You can start this process by taking off the half-inch electrical tape which in on the top of the handle. You can start by peeling off the grip all the way down to its handle. It is possible that you may end up with having some sticky residue material left on the handle. You can pull that off as well. There is no need to worry if it is not done in a perfect way. The paddle may look a bit weird when you are done with taking off the grip, but that is okay since it is now bare and ready for the new grip.
Step 3: Start simple
Now the central part of this whole process begins. You need to start by keeping an eye on both ends of your new grip tape. One of the tapered ends of the grip tape is for the gripping process, and this end will be placed at the bottom of the handle, and then eventually, it will make its way to the top. When you stick the tape on the grip, make sure you have it in the right direction by checking the brand name on the tape, or you may end up putting it upside down! Then you should remove the adhesive strip, which is on the back of the tape. Then you can start by applying the small end on the grip. You must ensure that the tape is correctly stuck on the bottom of the handle. You must not worry that you may end up running out of tape since there always is enough in the roll. It is crucial that you make sure that your positioning is correct, and so is the tightness of the tape, which will ensure it is done successfully. The tape should not be put lightly on the handle and make sure it is tight every time you make a revolution. This is easy to do as long as your grip is thick and stitched. Once you are done with this, it means you have successfully applied the first bit of the grip!
Step 4: Grip up the whole handle
Now the grip has to be applied all the way up towards the handle. Previously, we have been applying the grip by going diagonally and straight horizontally in an upward direction. Now it is time to change the directions yet move in the upward angle. This makes the grip comfortable and flat. You can even follow the lines from the previous grip if you can see the lines. If you cannot, however, then you can keep wrapping it until you get the angle right.
Most probably the grip will have perforated holes. One of the tricks to wrap it around correctly is to follow the imaginary line, which is made by the holes. You must not cover up the holes, and that is very important as the holes help in absorbing the moisture from your hands. Finally, as you tape up the grip in the upward directions, it will become smooth and natural, and before you know it, you will be at the top. It is, however, essential to get the angle right in the beginning. If you have it, you are in the right direction. You have to ensure throughout the process that you have the tape tightly around the grip though. However, you should not make the grip extremely hard or else you will stretch the grip. You should ensure that the fit is right.
Step 5: Cutting off the grip and taping it
Now that you have the grip on the handle top, you have to now cut off the extra and tape it tightly. You can use any sharp scissors or even the kitchen shears. Make sure there is plenty of room for you to work, while you are cutting it. You should start cutting it from the bottom and make your way up; making sure that the angle is shallow. In case you end up cutting it too steep, then you will not be able to wrap it all over. Once the process of cutting is complete, then you can tape it around. If you remember there was half an inch of tape that you cut off and stuck it on the side of the table when you started? That will now come to use. You would need that to wrap that around the grip right at the top which will help to hold everything in place. You now have a regripped paddle, ready to use!
Over-gripping your paddle
Over-gripping can be a great option if you do not want to change your grip but simply need some extra tackiness or thickness. Over-grip gets to be applied directly on the grip which you have already. This can be one of the methods of adding some tackiness to your paddle grip. Moreover, depending on which brand you have, the overgrips are available in a variety of colors, and you can add some brightness by adding some colors to your grip.
Adding the overgrip to your paddle is not any different than changing your grip completely. One of the things about the overgrips is that they are equipped with a piece of adhesive which is located at the tip of the strip while the rest of it is not adhesive. This means that it is much easier to overgrip it, rather than completely replace the grip because if you mess it up, you can do it again quickly.
It may be a bit hard to make the grip uniformly tight. The overgrip tape, however, is more flexible as compared to the grip tape, and as such, you would not need to tape it very tightly as it is necessary for the regular grip change. This is quite important since you do not want to have weird bulges sticking out from the handle. For over gripping the tape should be slowly, yet tightly put up all the way towards the paddle. The same process is followed, and you will end up with a paddle which is surely tackier!
Last words
As you must have figured out from the above steps, changing your grip or even regripping the pickleball paddle grip is not really difficult. As long as you follow the steps mentioned above, you will be on the right track! You may fail the first few times, but eventually you do get the hang of it.


